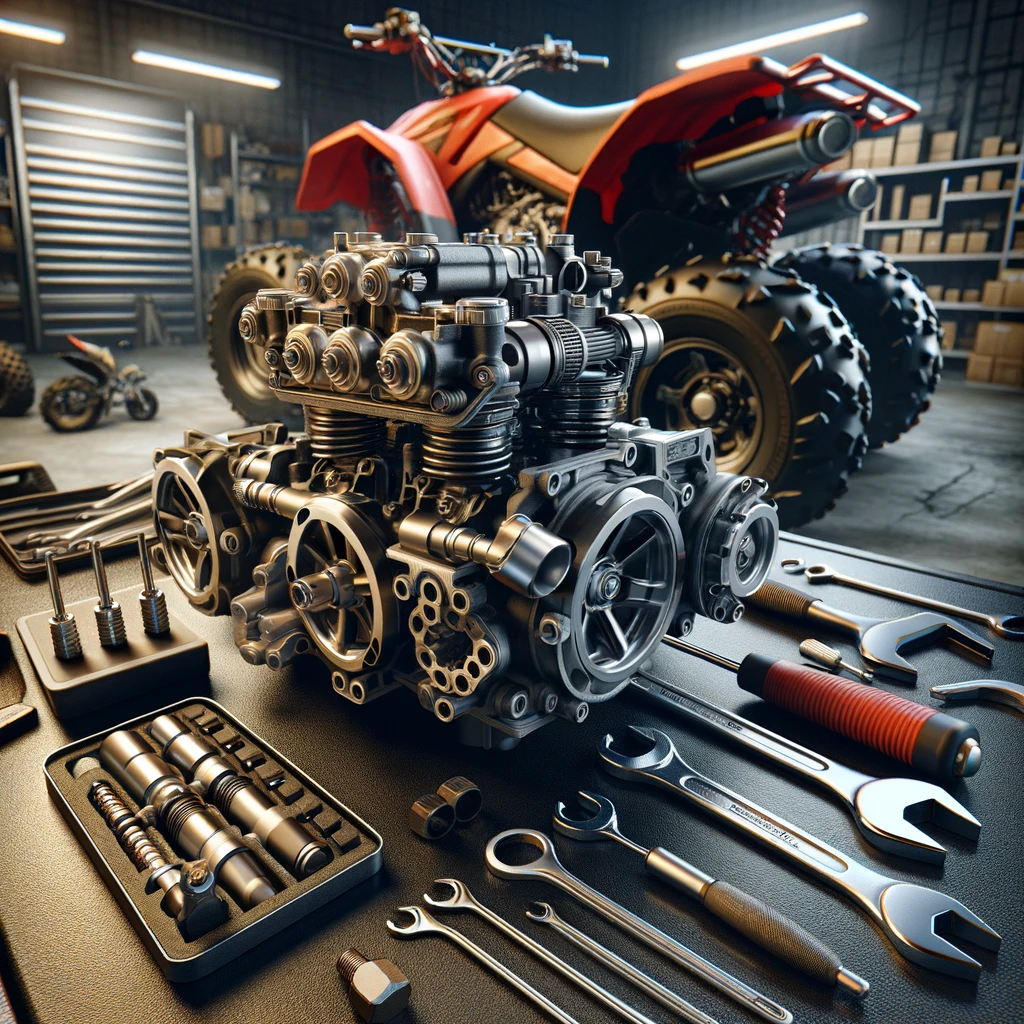
The importance of adjusting the valve clearance in an ATV (All-Terrain Vehicle) can’t be overstated. This process, often overlooked by ATV enthusiasts and DIY mechanics, is crucial for maintaining the performance and longevity of the engine. Valve clearance, the small gap between the valve lifter and the valve stem, is essential for proper valve operation. If the clearance is too small, the valves may not close completely, causing poor engine performance and overheating. On the other hand, if the clearance is too large, it can lead to excessive valve noise, reduced engine power, and even valve damage.
To adjust the valve clearance on your ATV, you need to follow several key steps. First, ensure your ATV is on a stable and level surface and the engine is cool. The tools you’ll need typically include a feeler gauge, wrench set, and a screwdriver, but this can vary depending on the ATV model.
- Accessing the Valves: Begin by removing any parts that obstruct access to the valve cover. This often includes seat removal, body plastics, and possibly the fuel tank.
- Valve Cover Removal: Once you have access, remove the valve cover to expose the valves. Be cautious of any gaskets or seals that might need replacing.
- Finding Top Dead Center (TDC): Rotate the engine manually (using a wrench on the crankshaft bolt) to bring it to the Top Dead Center of the compression stroke. This is crucial for accurate adjustment.
- Measuring Clearance: Using a feeler gauge, measure the clearance between the valve stem and the rocker arm or lifter. Refer to your ATV’s manual for the specific clearance range.
- Adjusting the Clearance: If adjustment is needed, loosen the lock nut on the rocker arm or lifter and turn the adjustment screw until the feeler gauge slides between the valve stem and rocker arm with slight resistance. Then, tighten the lock nut while holding the adjustment screw in place.
- Reassembly and Testing: Once adjustments are made, reassemble all components in the reverse order of disassembly. After reassembly, it’s advisable to start the engine and listen for any unusual noises.
It’s crucial to refer to your ATV’s specific service manual for detailed instructions and specifications, as the process can vary depending on the model and engine type.
Why Regular Valve Adjustment is Crucial
Regularly checking and adjusting the valve clearance is vital for several reasons:
- Prevents Engine Damage: Correct valve clearance ensures the valves fully open and close, preventing engine damage.
- Optimizes Performance: It maintains optimal engine performance, fuel efficiency, and smooth operation.
- Extends Engine Life: Regular maintenance helps prolong the engine’s lifespan.
- Early Problem Detection: Regular checks can help identify other engine issues early on.
While adjusting the valve clearance might seem daunting, it’s a manageable task with the right tools and instructions. Regular maintenance, including valve adjustments, is key to keeping your ATV running smoothly and avoiding costly repairs. Always refer to your ATV’s specific service manual for the most accurate guidance. Remember, a well-maintained ATV not only performs better but also ensures a safer and more enjoyable riding experience

