Every once in a while, your ATV may need some new shocks. Driving with old, rusty or overused shocks can ruin your ATV experience, put your safety in jeopardy and put your vehicles health in jeopardy. The problem with installing new shocks, is actually installing them. It can be a long, tedious and annoying process. This article is designed to make that process easier, simpler and more fluent to save you some headache.
To install new ATV shocks you will need to:
- Jack the ATV
- Take off the tire
- Take off the old shocks
- Add the new shocks
- Put the tire back on
- Unjack the ATV
- Take it for a test drive
Obviously these steps are over simplified which was just to make it simpler. A further in-depth look at each step is below.
A Closer Look
Jack The ATV
Jacking the ATV is the first step and an important one. This will allow you to remove the tire and start the process. To jack the ATV you will obviously place the jack saddle (the top circle part) onto the jack point. ATVs have many jack points but the only ones we will need are the front and rear. As long as the jack saddle is lifting the frame you will be fine. An important point to remember about this step is that a jack stand will work fine too.
Take Off The Tire
Taking off the tire will grant us easier access to the shock which is why this step is crucial. To take off the tire you will need a wrench or an impact gun. An impact gun is much more preferred because the job can be completed 100 times quicker. Find what size the lug nut is which is best through trial and area with different size sockets. Once you find the right size socket you will attach it to the impact gun and start removing the lug nuts. It is best to remove tires in a star pattern which in this case will just mean the second lug nut to be removed will be opposite of the first lug nut you remove. The next ones won’t matter because there will only be four lug nuts. Once all the lug nuts are removed the tire will be able to detach and you have access to the shock.
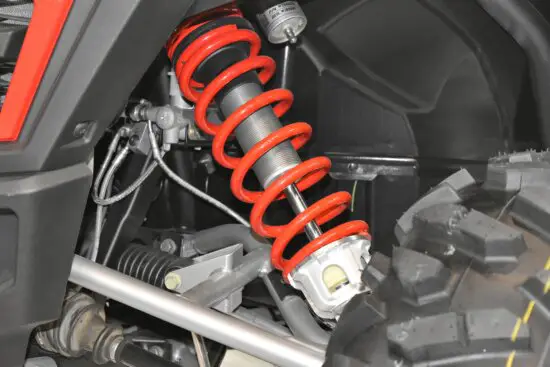
Take Off The Bolts Holding The Old Shocks
Once you have access to the shocks, you will notice they are attached at the top and bottom with bolts. To remove the old shock you will have to use a wrench or an impact gun but fitting an impact gun in the small space may not be possible. I recommend using two wrenches, one on each side of the bolt and screw. Hold one wrench still on one side to stabilize it and use the other wrench to twist the bolt until it comes off. It is super important to not lose the pieces because buying new ones just because you lost the pieces is a stupid waste of money. Once you do both sides of the shock, top and bottom, you can remove it and you’re ready for the next step.
Add The New Shocks
To add the new shocks you will just put them in the same place the old ones were. Once you have them lined up, use the bolt and screw from the previous shocks to secure them in place the same way the other ones were. You should secure them tight because you wouldn’t want them to fall off. Make sure not to make them too tight because you will likely have to do this process in the future.
Put The Tire Back On
To put the tire back on you will line up the bolt holes and to start just rest the tire on the screws from the ATV. Next you will put the lug nuts back on but start by hand. Just get a few turns until you know they are on the screw in the right way. If you just start with the impact gun you could cross thread the lug nut. once they are on securely then you can use the impact gun. Impact them until they are on securely and square. Once you are done with the first lug nut, do the same thing as when you took them off where the next lug nut you secure is across from the first one. This will ensure the tire is on square. Once you have done them all the tire is on and you are finished this step.
Unjack The ATV
Once you have done the steps the new shocks are on and they are ready for action. All you need to do is unjack the ATV and it will be ready for action.
Take It For A Test Drive
The next step is by far the most fun. Taking it for a test drive may sound a little cheesy or stupid but in reality it is important. If you did something wrong it could impact the vehicle seriously. Taking it for a short test drive will let you know if everything is good or not.
This may sound like a lot of steps or may seem intimidating but I assure you they are all easier than you think. It really only takes about five minutes per wheel and it will be worth it when you get to rip around on some fresh shocks.
How to Adjust Shocks
To adjust the shock you will need to grab the small adjustment knob with vice grips. Once you have them locked on just twist until you find your preferred setting.
To find a more in-depth look at adjusting shocks, check out this other article we wrote:
Adjusting Your ATV Shocks – A Helpful Guide
A Full Checklist of Materials
If you want a checklist of everything you need to do this, here it is:
- New shocks
- Jack*
- Impact gun or wrench
- Two wrenches that fit the bolt size
- Socket that fits the lug nut size
*really any kind of jack works but I recommend either a floor jack or a jack stand
