ATVs (All-Terrain Vehicles) are versatile vehicles that provide thrilling off-road adventures. To ensure a safe and enjoyable ride, it is crucial to maintain and regularly inspect the brakes of your ATV. In this guide, we will discuss the importance of ATV brake maintenance and provide step-by-step instructions on how to inspect, adjust, and replace your ATV brakes when necessary.
Introduction
As an ATV owner, it is essential to prioritize brake maintenance to ensure your safety and the longevity of your vehicle. Regular inspection, adjustment, and replacement of the brakes will help maintain optimal stopping power and control, especially when navigating challenging terrains.
Why Brake Maintenance is Essential
Proper brake maintenance is crucial for several reasons. Firstly, it ensures your safety by allowing you to stop effectively when needed, preventing accidents and injuries. Secondly, well-maintained brakes enhance the overall performance of your ATV, enabling better control and maneuverability. Lastly, regular brake maintenance can prevent costly repairs by identifying issues early on and addressing them promptly.
Signs of Brake Problems
Before we dive into the inspection process, it’s essential to recognize the signs that indicate potential brake problems. These signs may include:
- Squeaking or grinding noises when applying the brakes
- Increased stopping distance
- A soft or spongy brake lever or pedal
- Vibrations or pulsations when braking
- Uneven brake pad wear
If you notice any of these signs, it’s crucial to inspect and address the brake issues promptly.
Preparing for Brake Inspection
Before inspecting your ATV brakes, gather the necessary tools and ensure your ATV is parked on a level surface. You’ll need:
- Socket wrench and appropriate sockets
- Allen wrench set
- Brake cleaner
- Shop towels
- Brake fluid
- Brake pads (if replacement is necessary)
Step 1: Visual Inspection
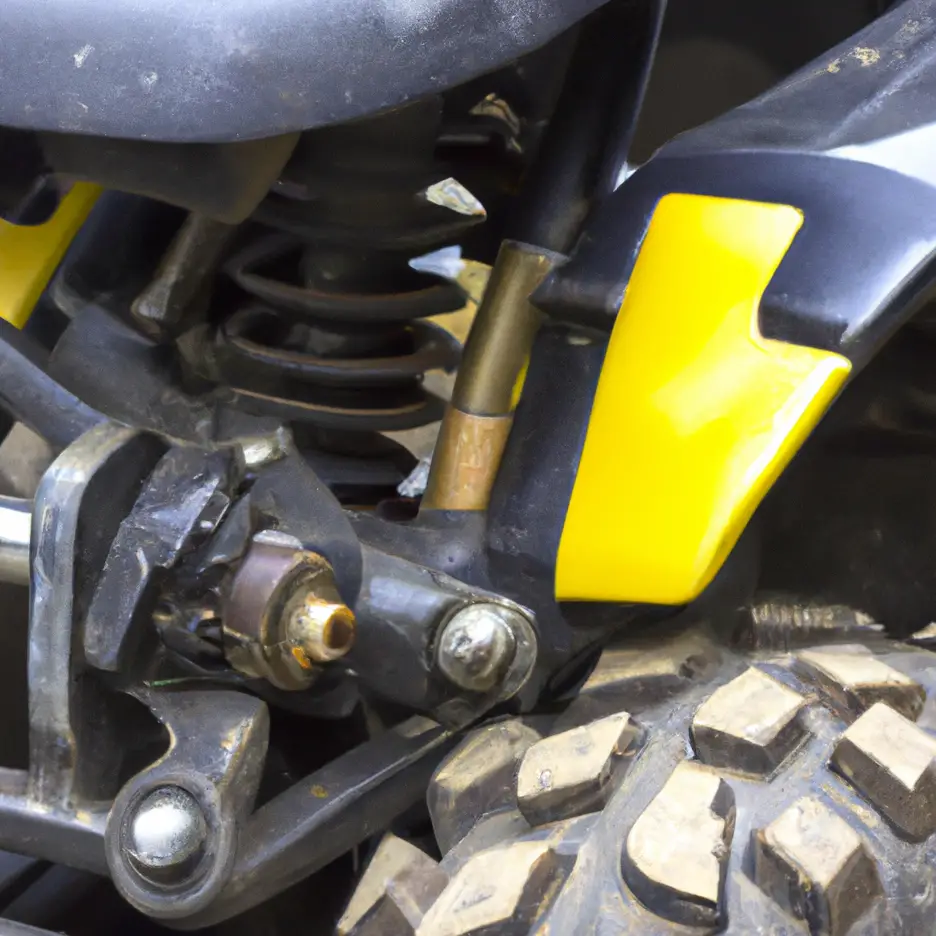
Start by visually inspecting the brake system. Check for any visible leaks, loose connections, or damaged components. Look for signs of brake fluid leakage around the calipers, lines, or master cylinder. Ensure that all bolts and fittings are securely tightened.
Step 2: Brake Lever and Pedal Check
Test the brake lever and pedal for proper functionality. They should feel firm and not excessively loose or spongy. If you notice any issues, further inspection and adjustment may be required.
Step 3: Brake Fluid Inspection
Check the brake fluid level and condition. Locate the brake fluid reservoir and ensure it is filled to the appropriate level. If the brake fluid appears discolored or contaminated, it may be necessary to flush and replace it.
Step 4: Brake Pad Evaluation
Inspect the brake pads for wear. Remove the wheels to gain access to the brake calipers. Check the thickness of the brake pads; if they are worn beyond the recommended thickness, they should be replaced. Additionally, examine the brake rotor for any deep grooves or signs of excessive wear. If the rotor is damaged or worn unevenly, it is recommended to replace it along with the brake pads for optimal braking performance.
Step 5: Brake Adjustment
Brake adjustment is necessary when the lever or pedal travel is excessive or when the brakes feel too tight. Refer to your ATV’s owner manual for specific instructions on adjusting the brakes. Typically, adjustments can be made using an Allen wrench or a socket wrench to loosen or tighten the brake caliper mounting bolts.
Step 6: Brake Replacement
If the brake pads or rotors are worn beyond their recommended thickness, it is crucial to replace them. Begin by removing the brake caliper bolts to access the brake pads. Carefully remove the old brake pads and install the new ones, ensuring they are correctly aligned. Reattach the brake caliper and tighten the bolts securely. Repeat the process for all brake pads that require replacement.
Conclusion
Maintaining your ATV brakes is paramount for your safety and the longevity of your vehicle. By regularly inspecting, adjusting, and replacing the brakes when necessary, you ensure optimal braking performance and control while enjoying your off-road adventures. Prioritize brake maintenance and always refer to your ATV’s owner manual for specific instructions.
FAQs
Q1: How often should I inspect my ATV brakes?
It is recommended to inspect your ATV brakes at least once every six months or more frequently if you ride in challenging terrains or encounter any signs of brake problems.
Q2: Can I use any brake fluid for my ATV?
No, it is essential to use the brake fluid specified in your ATV’s owner manual. Using the wrong type of brake fluid can lead to brake system damage and compromised performance.
Q3: What should I do if my brakes are squeaking?
Squeaking brakes may indicate worn brake pads or rotor damage. Inspect your brake pads and rotors, and replace them if necessary. If the issue persists, consult a professional mechanic.
Q4: How do I know if my brake fluid needs to be replaced?
Check the brake fluid’s color and consistency. If it appears discolored, dark, or contaminated, it is recommended to flush and replace the brake fluid.
Q5: Can I adjust the brakes myself, or should I seek professional help?
Minor brake adjustments can often be done by following the instructions in your ATV’s owner manual. However, if you are unsure or encounter complex issues, it is best to consult a qualified mechanic for assistance.
In conclusion, maintaining your ATV brakes is crucial for safety and performance. By following the outlined inspection, adjustment, and replacement guide, you can ensure your brakes are in optimal condition. Regular brake maintenance will provide you with the confidence and control you need while exploring off-road trails with your ATV. Remember to refer to your ATV’s owner manual for specific instructions and seek professional help when needed.
