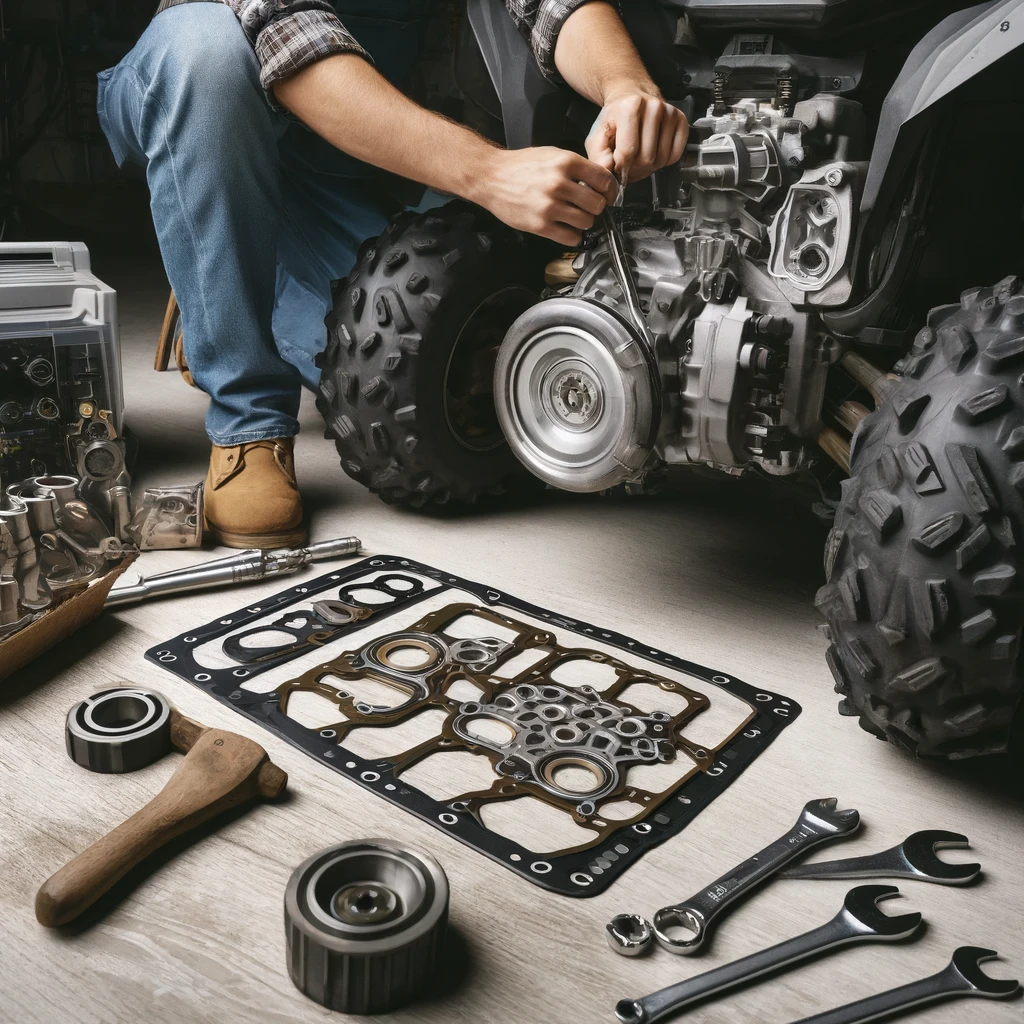
Maintaining your ATV in top condition requires periodic maintenance and repair, including replacing engine gaskets and seals. These components are crucial for preventing leaks and ensuring optimal engine performance. This guide will walk you through the steps to replace ATV engine gaskets and seals, helping you keep your ride smooth and trouble-free.
Understanding the Role of Gaskets and Seals
Engine gaskets and seals play a critical role in your ATV’s engine, preventing fluids from leaking and keeping contaminants out. Over time, these components can wear out, leading to leaks and decreased performance. Recognizing the signs of worn gaskets and seals, such as oil leaks, overheating, or decreased engine efficiency, is the first step in addressing the issue.
Tools and Materials Needed
Before starting the replacement process, gather the necessary tools and materials:
- New gaskets and seals (specific to your ATV model)
- Socket set and wrenches
- Screwdrivers
- Gasket scraper
- Torque wrench
- Clean rags
- Engine degreaser
- Rubber mallet
- Service manual for your ATV model
Step-by-Step Guide to Replacing Engine Gaskets and Seals
1. Preparation
Begin by placing your ATV on a stable, flat surface. Ensure the engine is cool to avoid burns. Disconnect the battery to prevent any electrical mishaps during the repair.
2. Remove the Engine Components
Refer to your ATV’s service manual for specific instructions on disassembling the engine components. Typically, you’ll need to remove the exhaust system, fuel tank, and various engine covers to access the gaskets and seals. Keep track of all bolts and small parts, organizing them for easy reassembly.
3. Remove the Old Gaskets and Seals
Carefully remove the old gaskets and seals using a gasket scraper. Be gentle to avoid damaging the surfaces of the engine parts. Clean the mating surfaces thoroughly with an engine degreaser and a clean rag to ensure a good seal with the new gaskets.
4. Install the New Gaskets and Seals
Position the new gaskets and seals in place, ensuring they align correctly with the engine components. Some gaskets may require a thin layer of gasket sealant for better adhesion and sealing. Refer to your service manual for specific instructions regarding the use of sealant.
5. Reassemble the Engine
Carefully reassemble the engine components in the reverse order of disassembly. Use a torque wrench to tighten bolts to the specifications provided in your service manual. Over-tightening can damage the gaskets, while under-tightening may result in leaks.
6. Test the Engine
Once reassembled, reconnect the battery and start the engine. Check for any leaks and listen for unusual noises. A smooth-running engine without leaks indicates a successful gasket and seal replacement.
Tips for Successful Gasket and Seal Replacement
- Always use gaskets and seals that are specifically designed for your ATV model.
- Keep your workspace clean to prevent debris from contaminating the engine components.
- Take your time and follow the service manual instructions meticulously.
- Regularly inspect and maintain your ATV to catch potential gasket and seal issues early.
Replacing ATV engine gaskets and seals is a manageable task with the right tools, materials, and instructions. By following this comprehensive guide, you can ensure your ATV remains in excellent condition, providing you with reliable performance for years to come. Regular maintenance and timely repairs will extend the life of your ATV and enhance your riding experience. Happy riding!
